 Flax Bourton Hub
Layout
Room layout and outside spaces
Use the simplified layout guide alongside the gallery if you want the room-by-room explanation.
Open layout guideVenue gallery
A photo guide to the main hall, small meeting room, kitchen and setting around the Hub, with quick links back to the practical hire guidance.
Layout
Use the simplified layout guide alongside the gallery if you want the room-by-room explanation.
Open layout guideFacilities
Check the facilities guide for the practical details behind the photos.
Open facilities guideFind us
Use the map and arrival guidance to plan access, parking and handover arrangements.
Photo guide
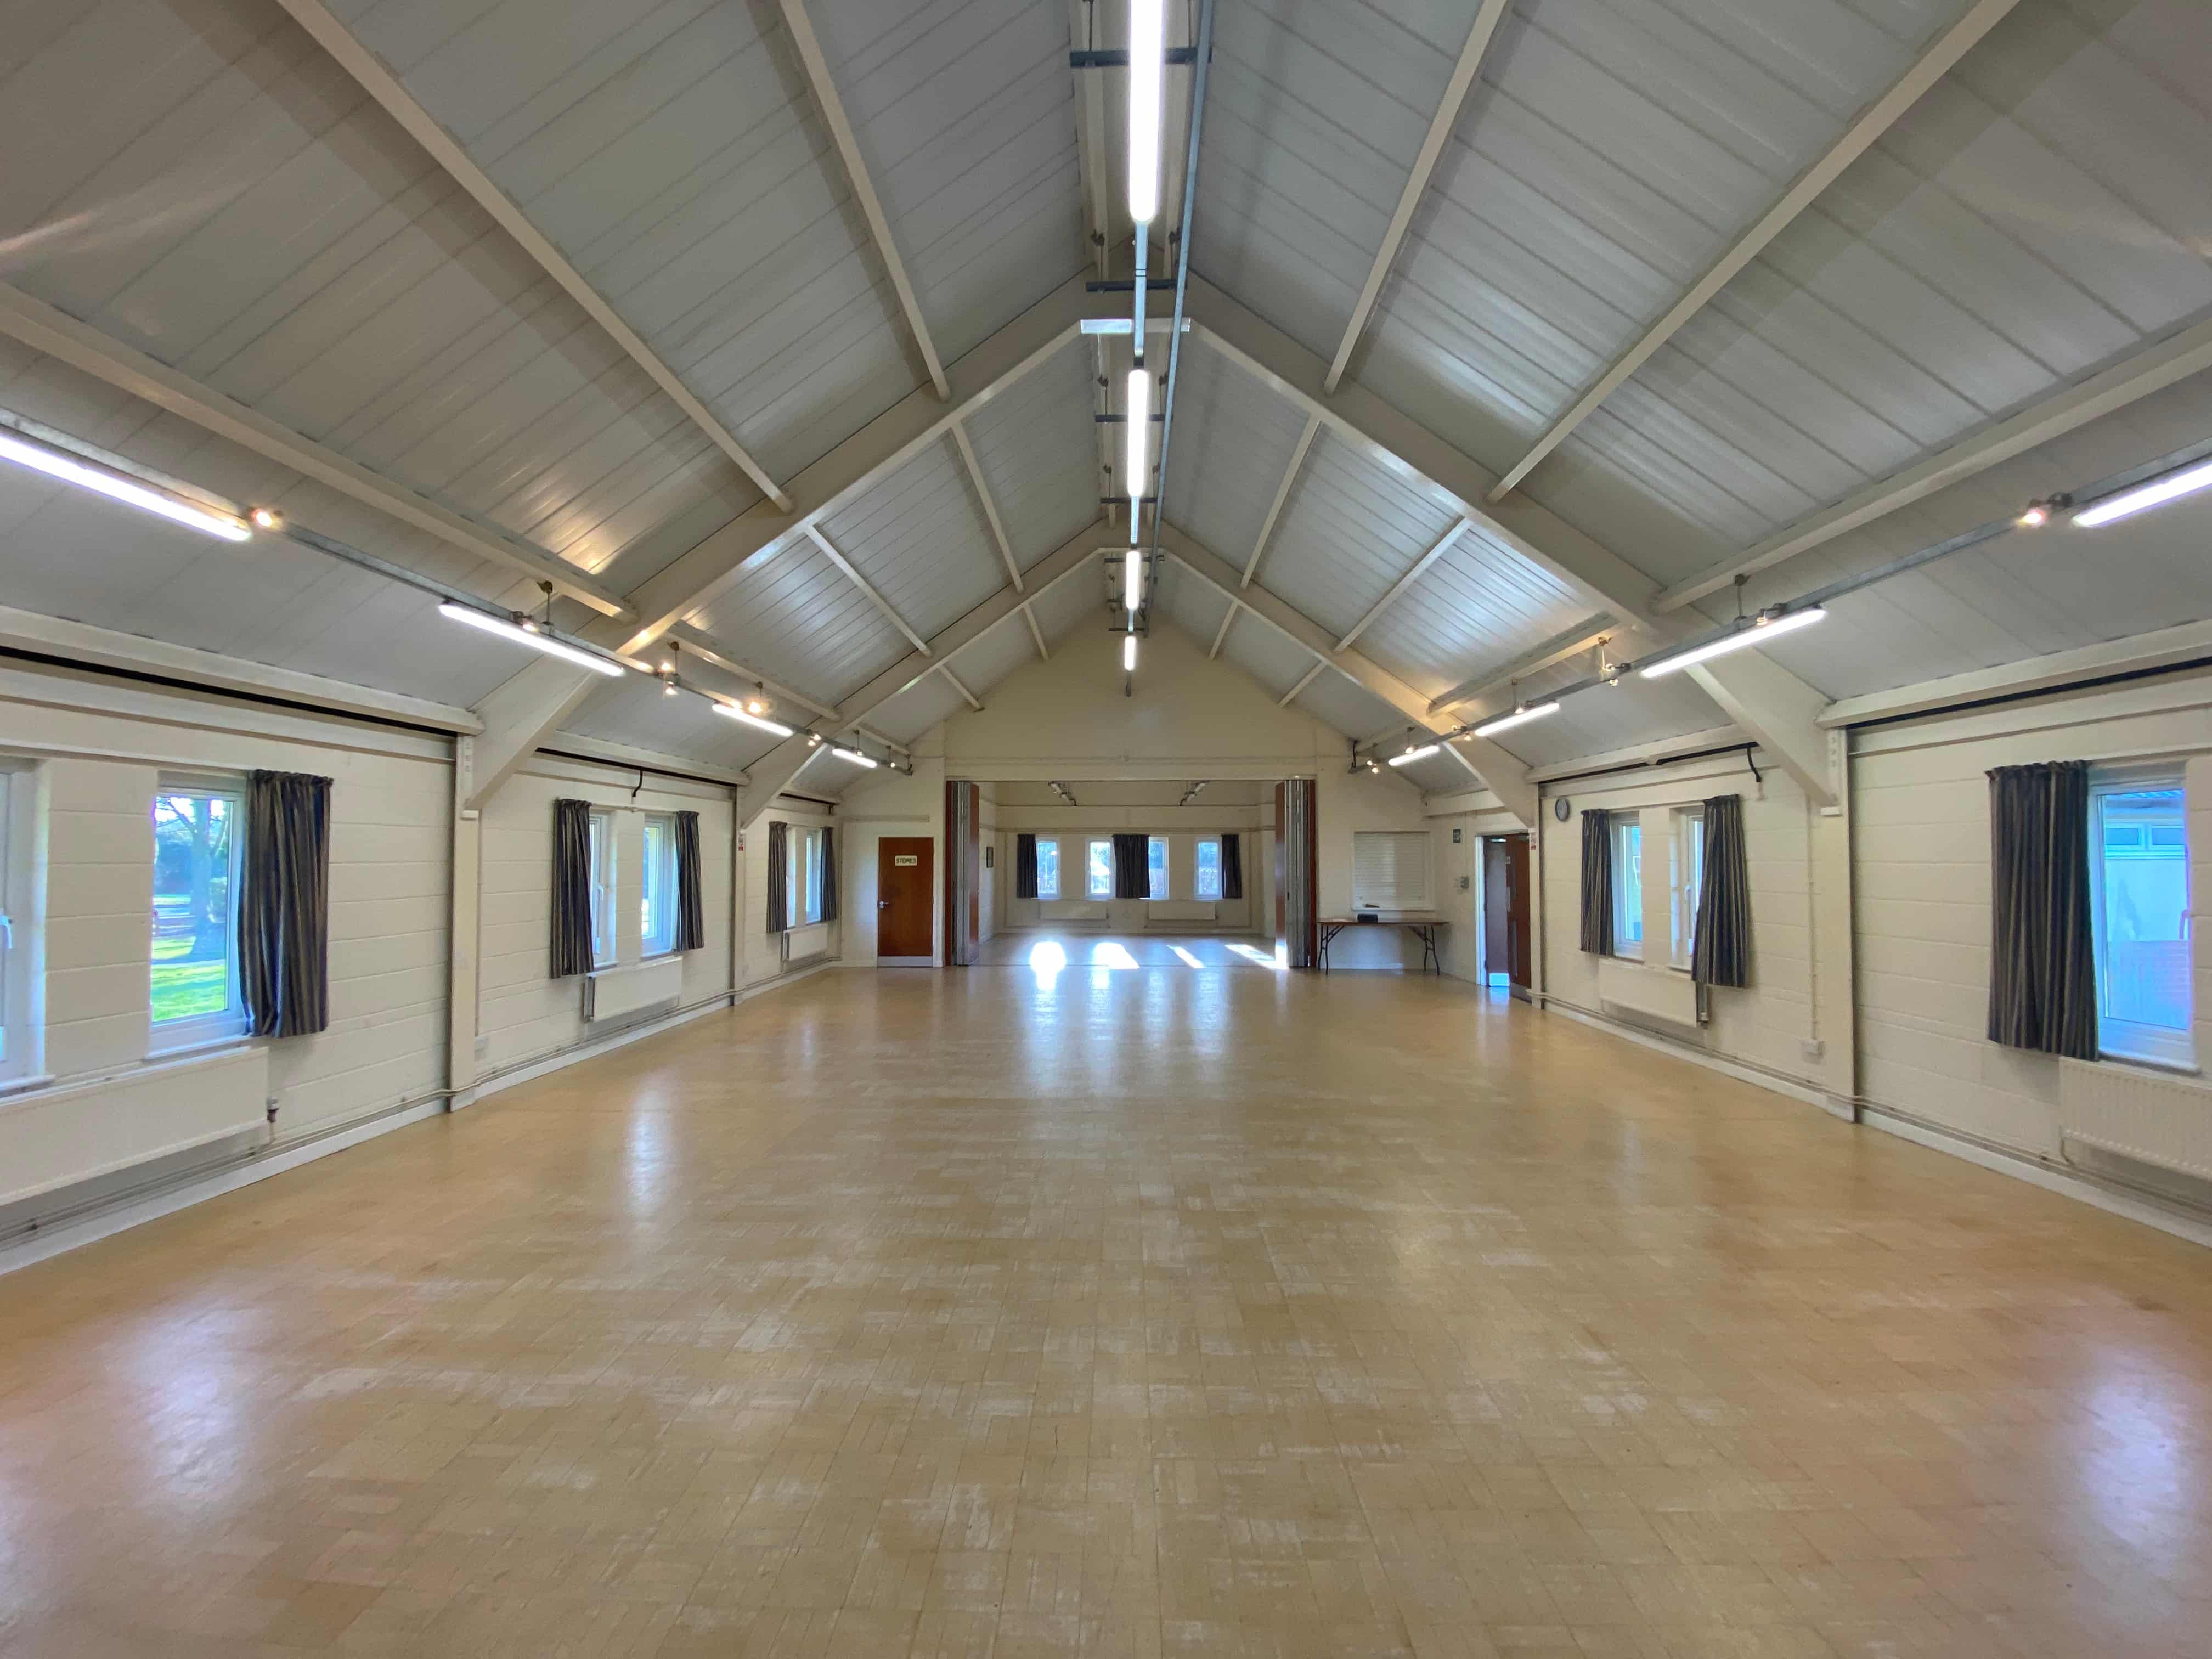
Photo 1
A broad first view of the main hall, showing the open floor area that can be arranged for celebrations, talks, classes and community events.
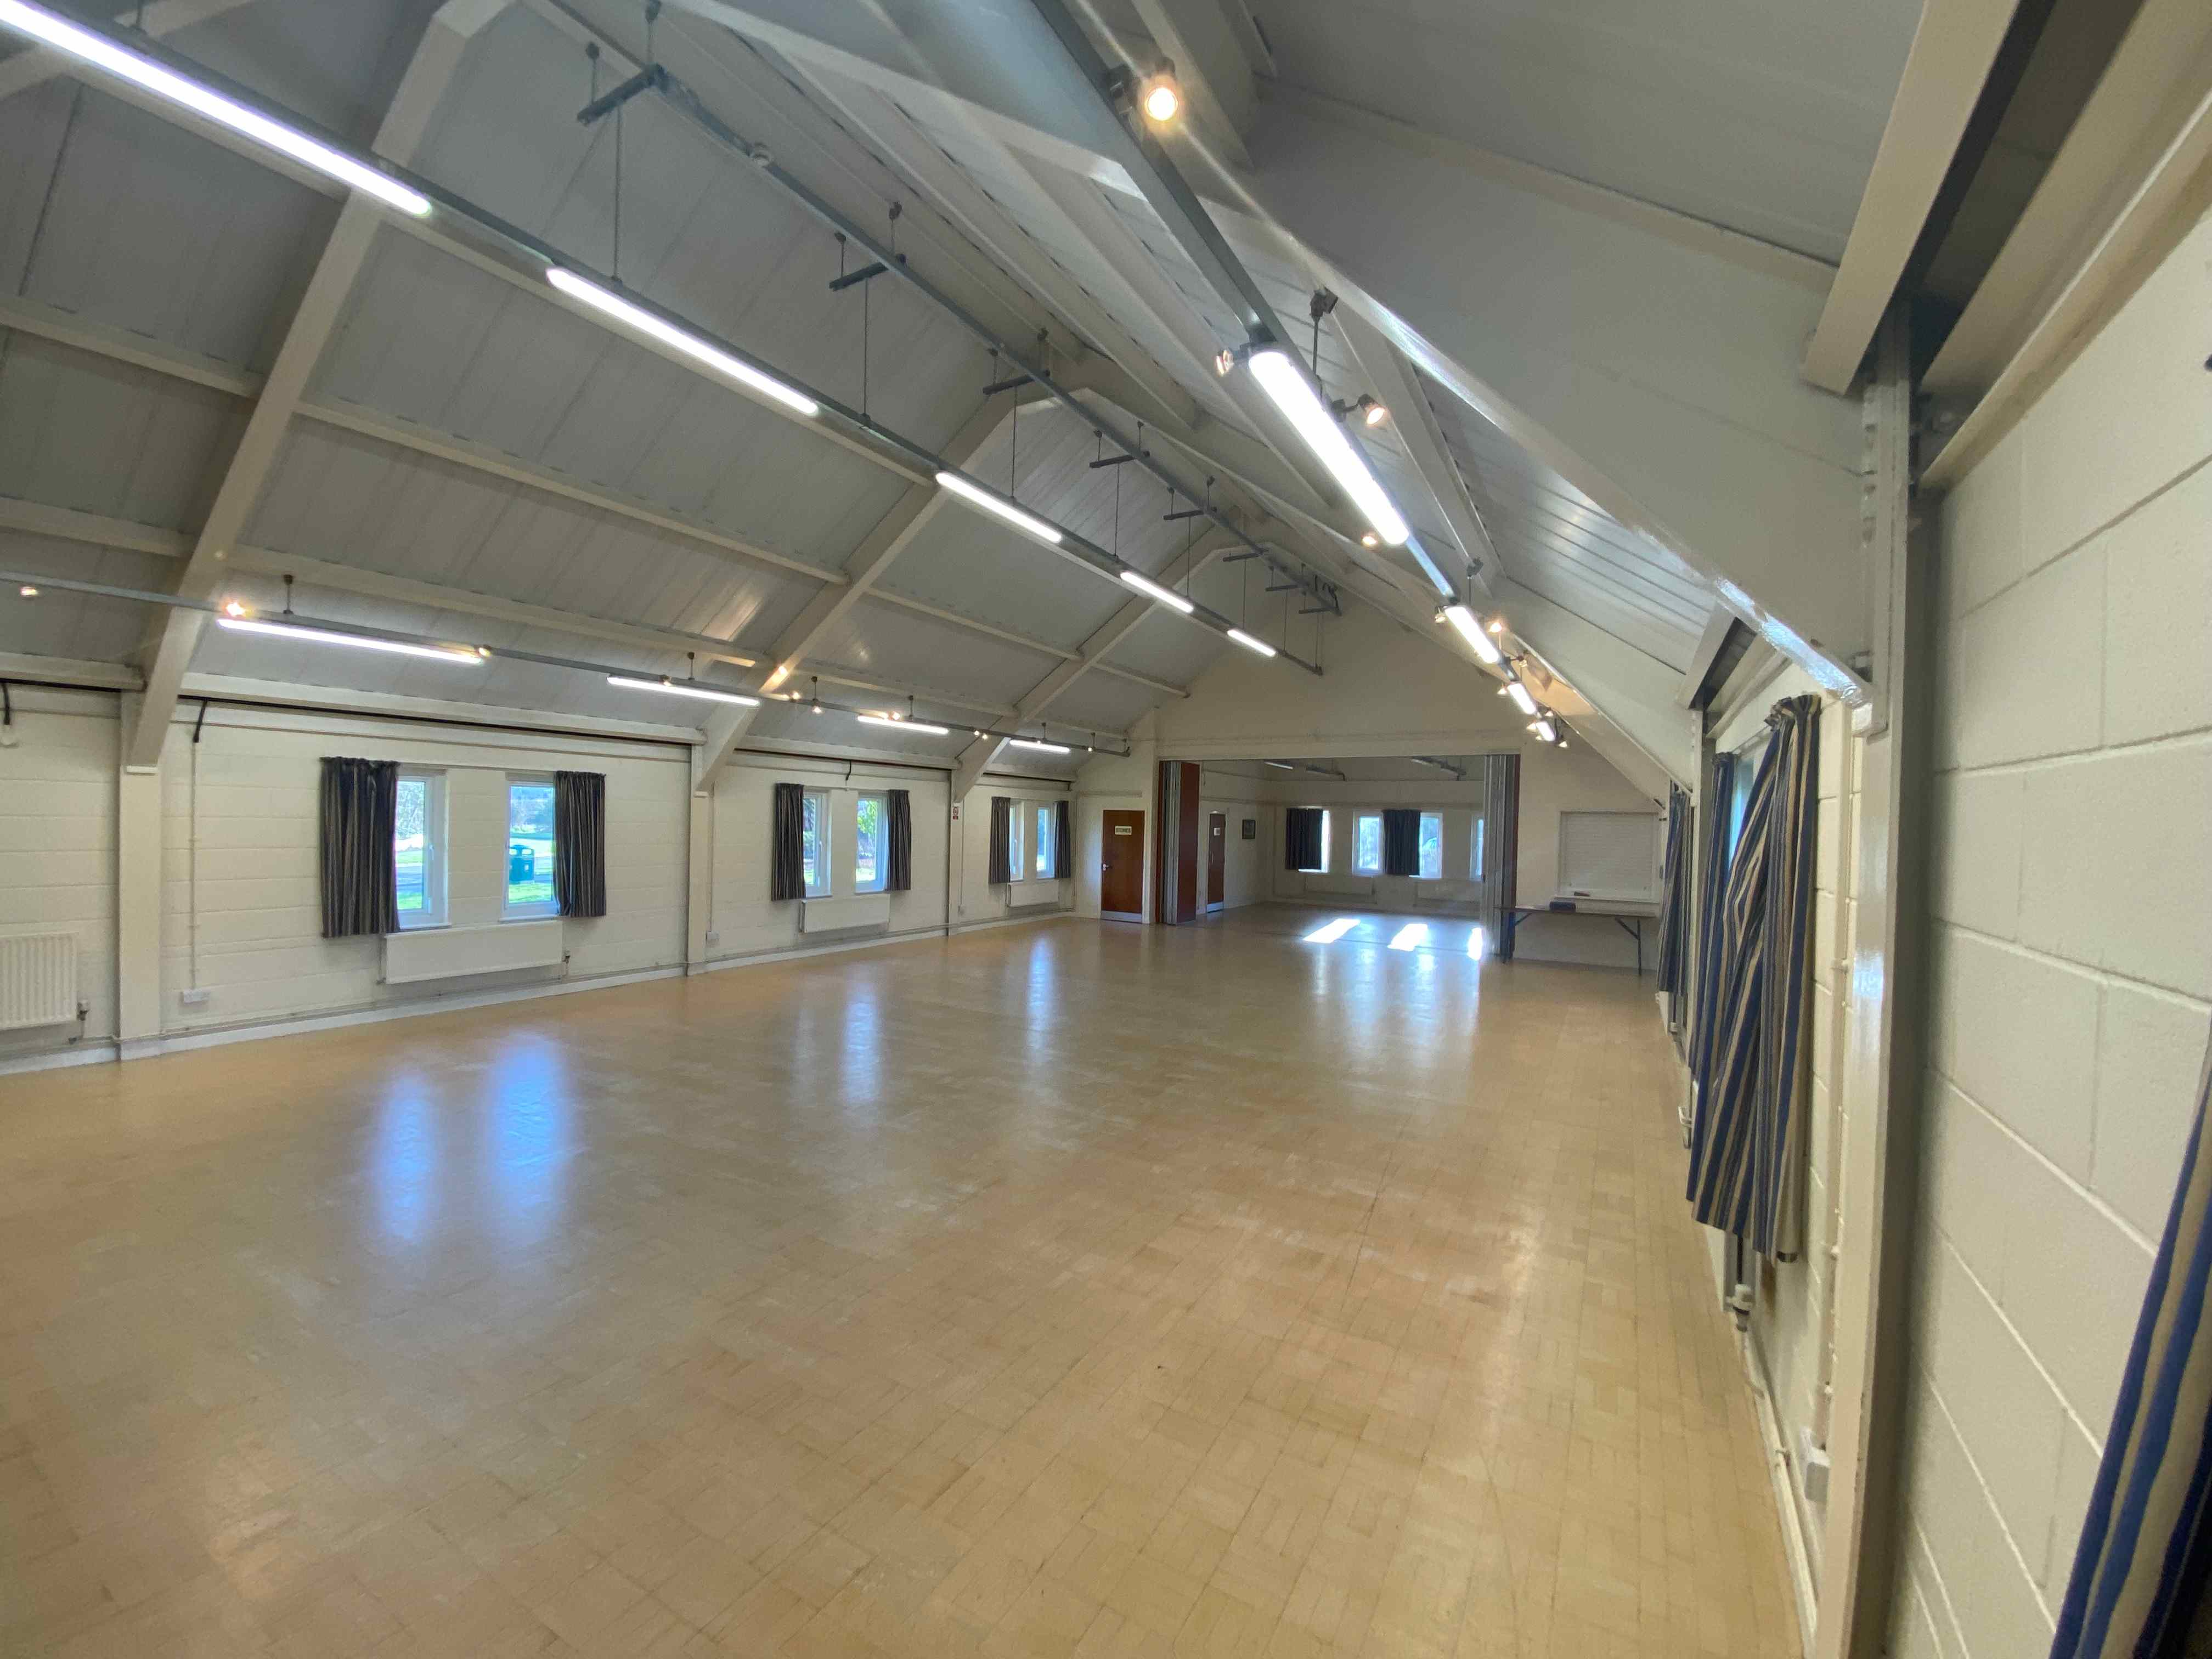
Photo 2
A longer view across the main hall, useful for judging circulation space, table layout and standing room.
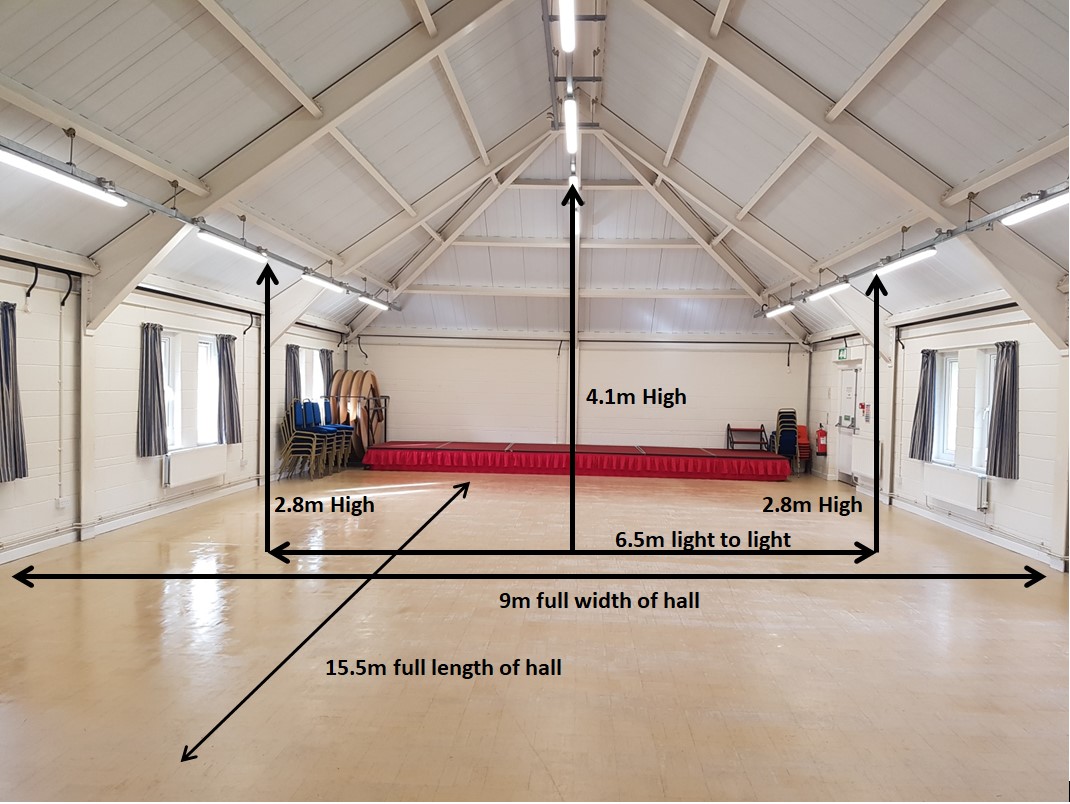
Photo 3
The stage end of the hall, where the permanent sound and lighting setup becomes most relevant for performances, assemblies and presentations.

Photo 4
The kitchen supports refreshments and event catering, with serving access back into the hall.
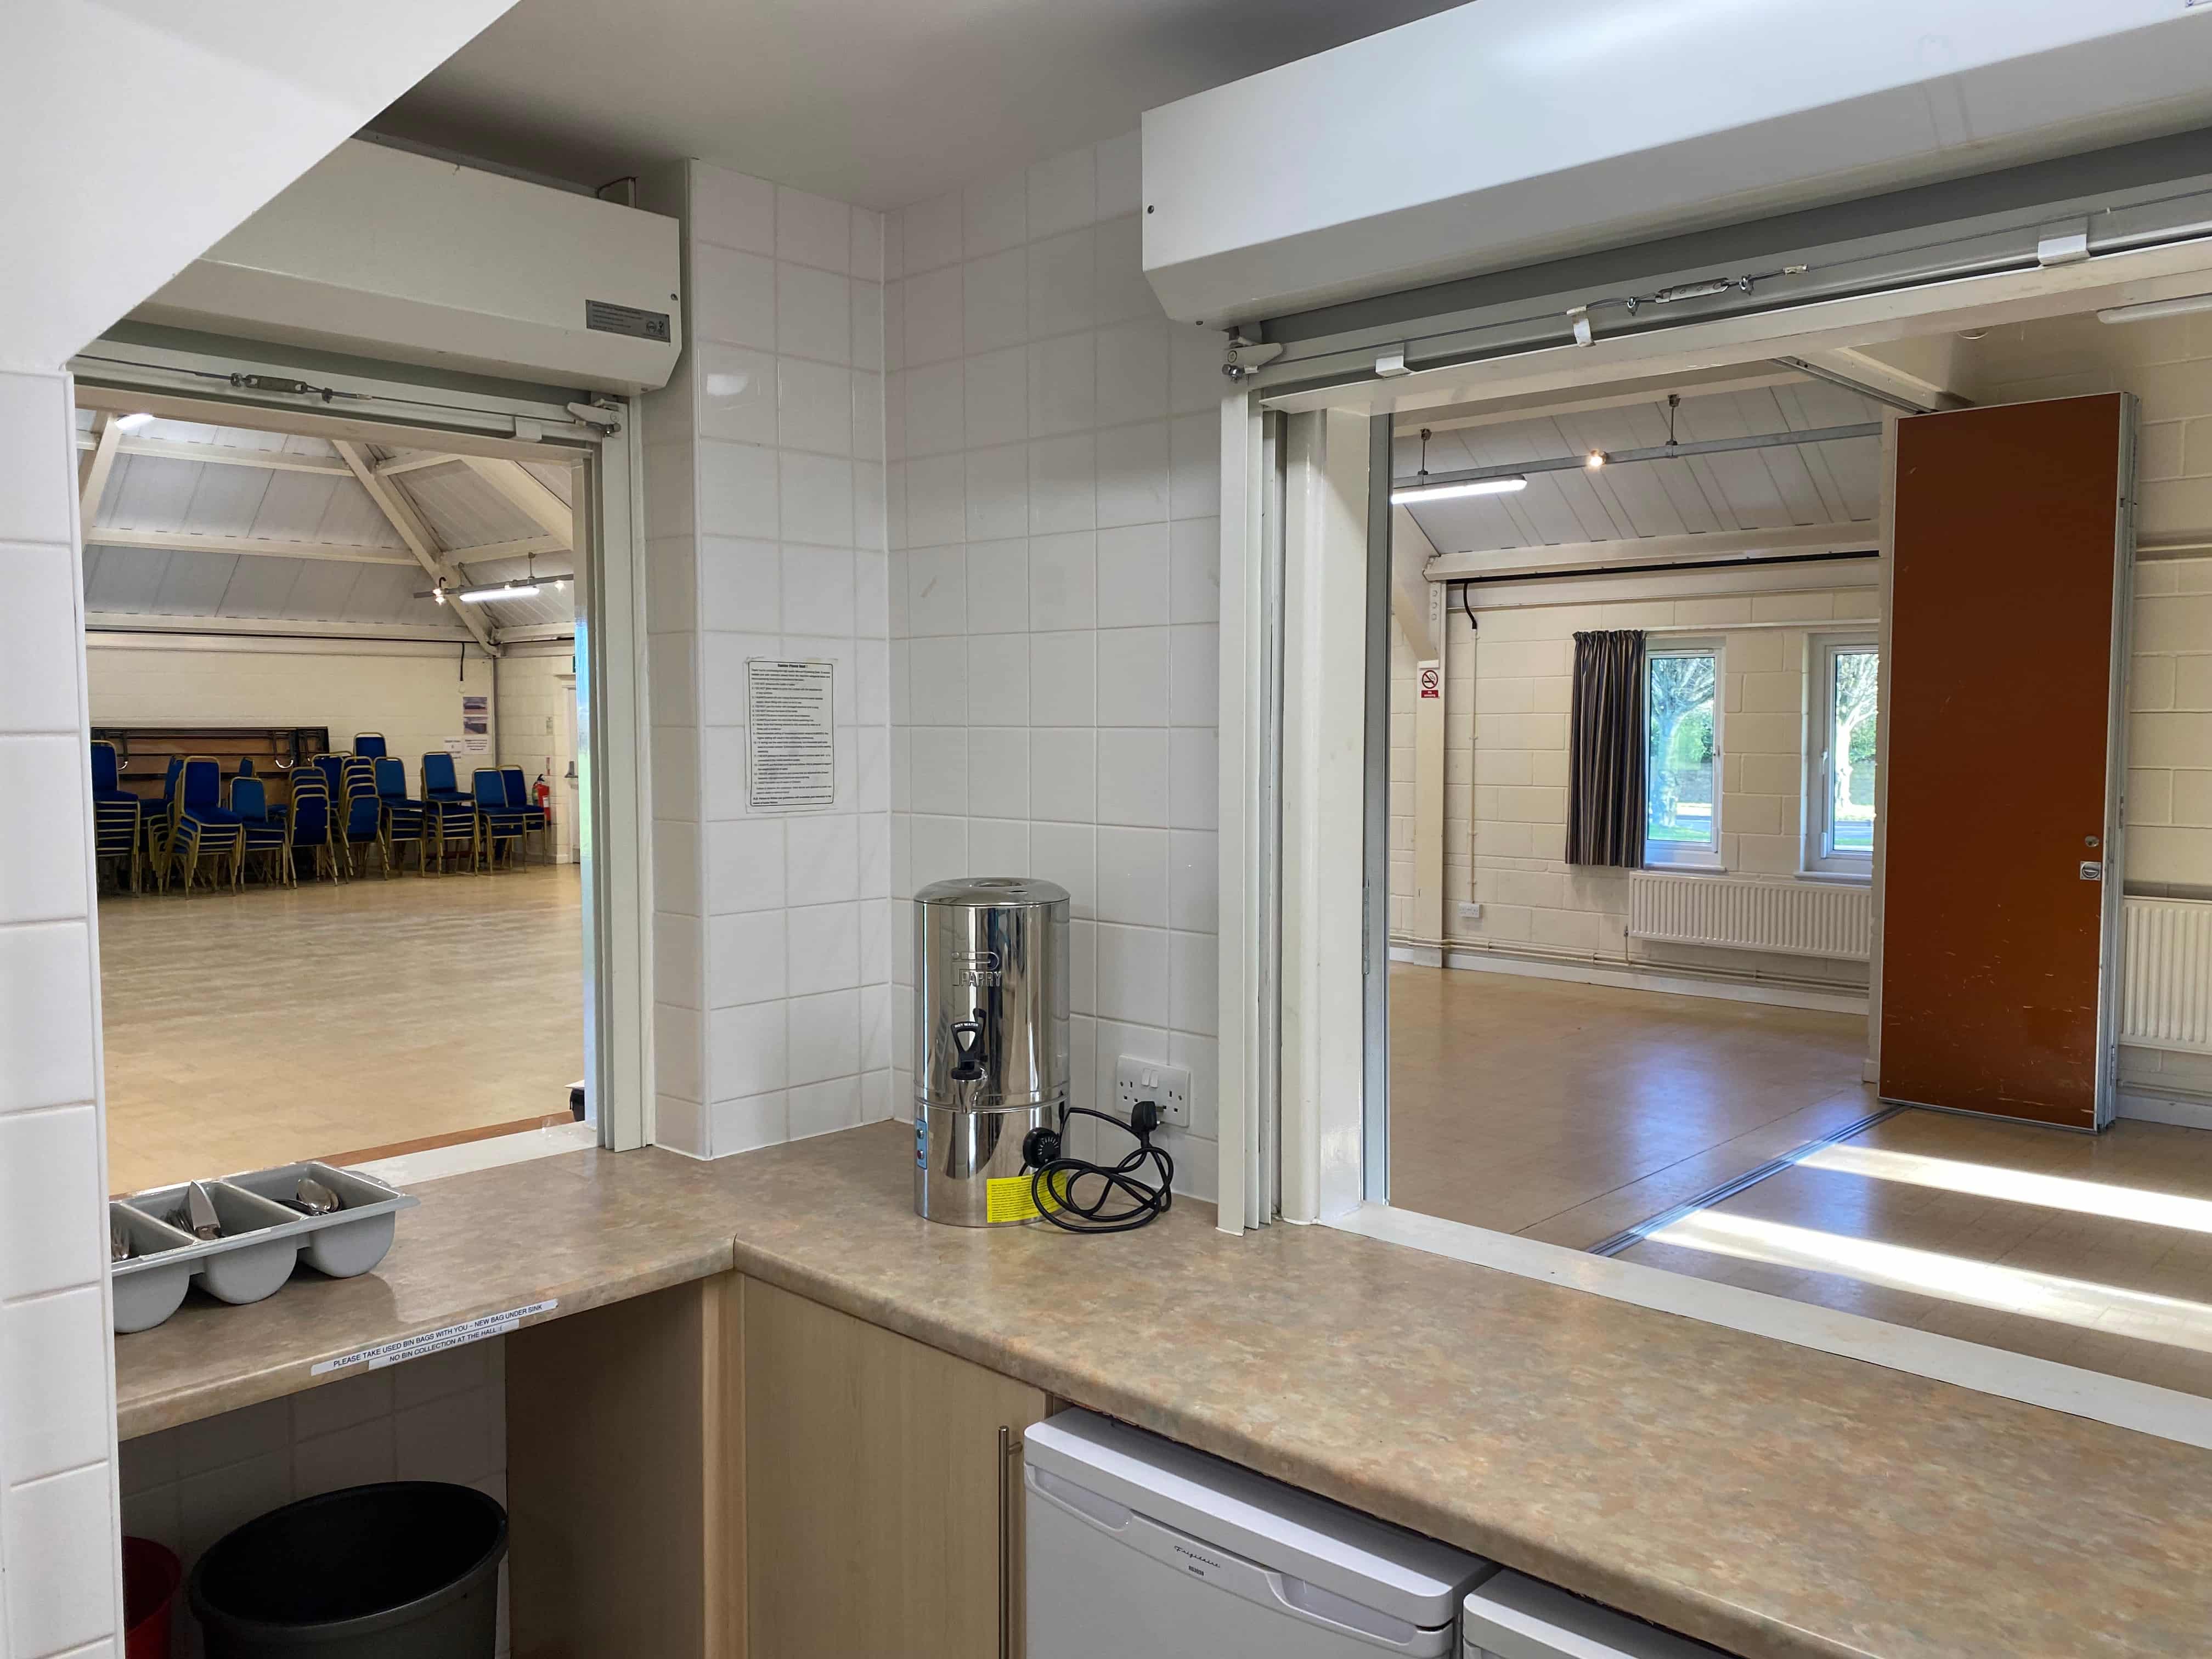
Photo 5
A closer look at the serving hatches between the kitchen and main hall for events where food or drinks need to move quickly.
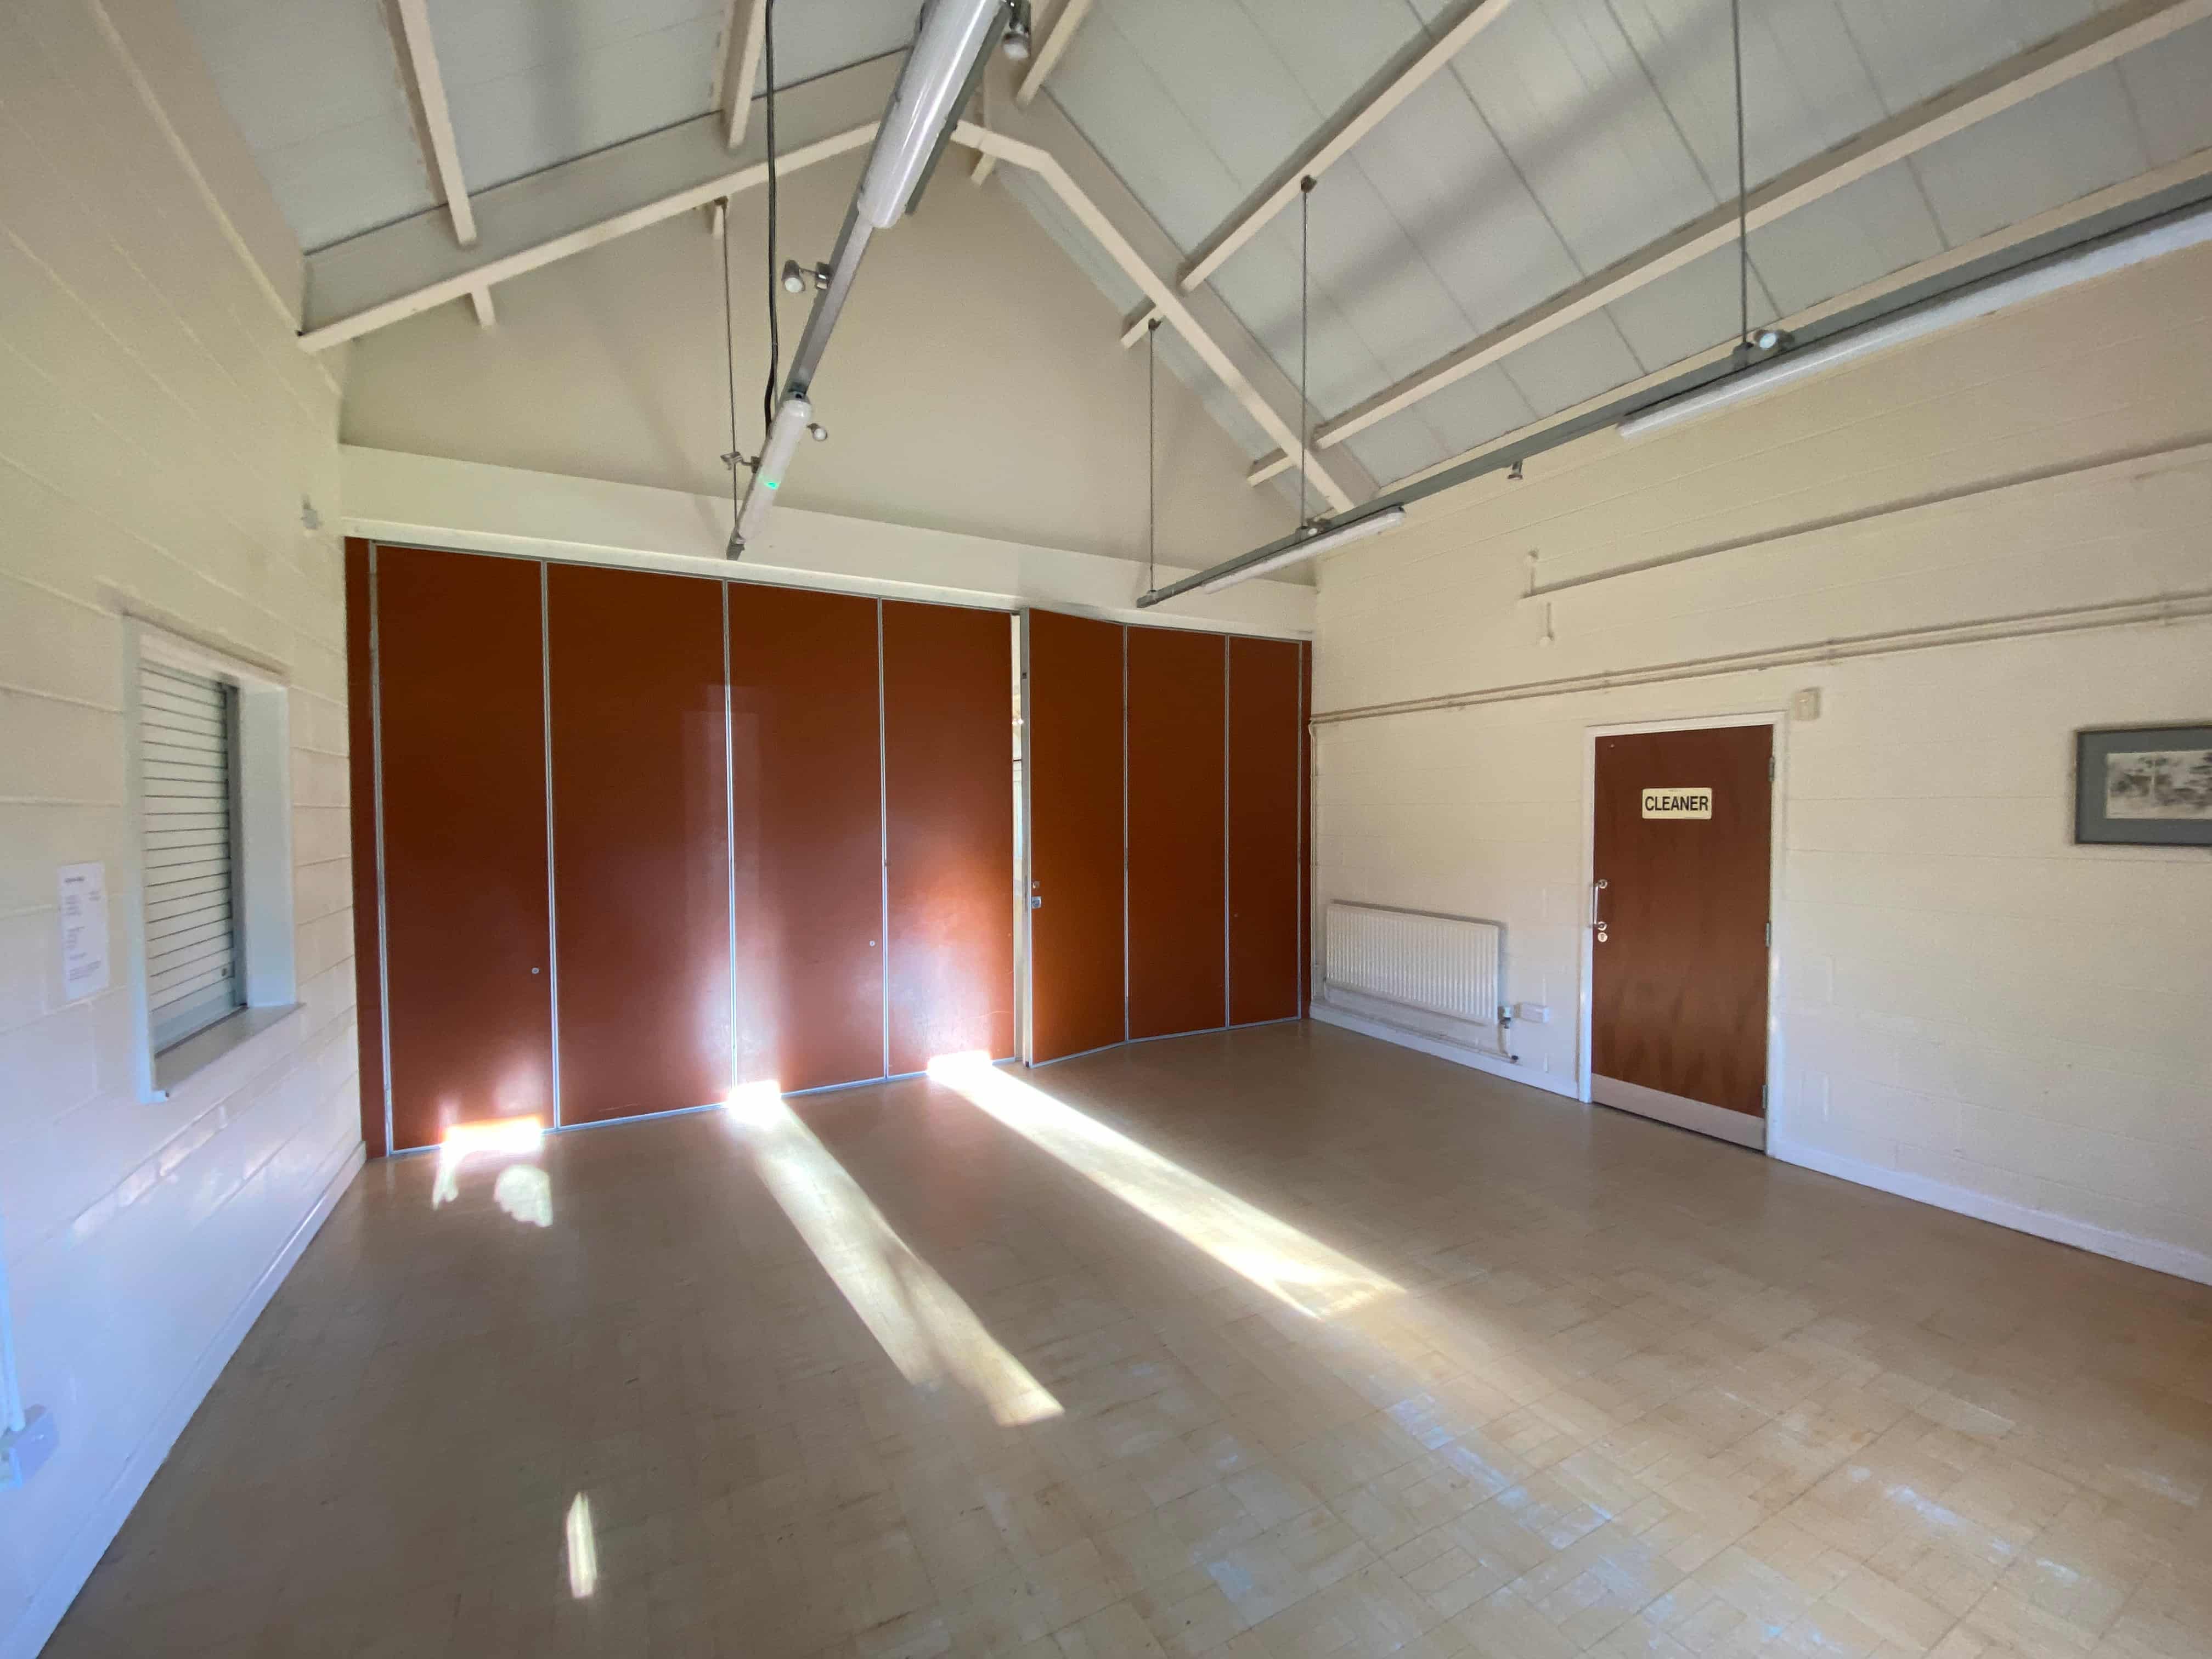
Photo 6
A smaller, more contained setup created inside the main hall, which can work well for classes, meetings and lighter-touch community use.
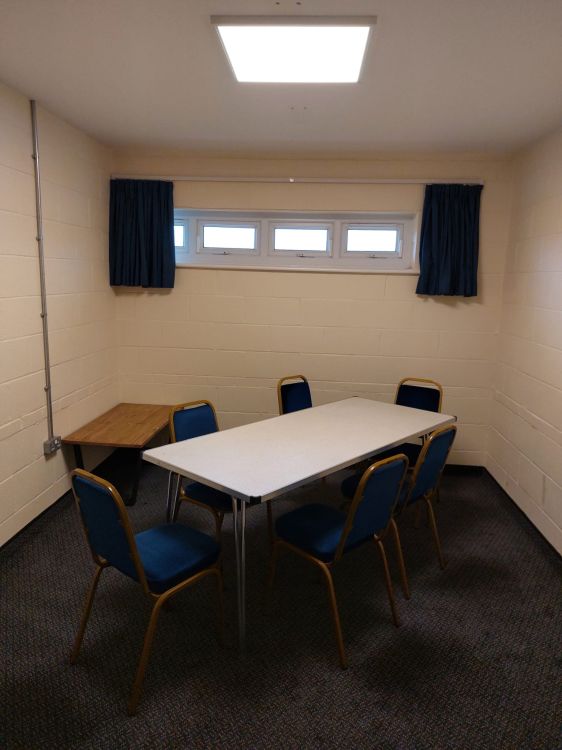
Photo 7
The smaller meeting room off the corridor is suitable for meetings of up to 8 people.
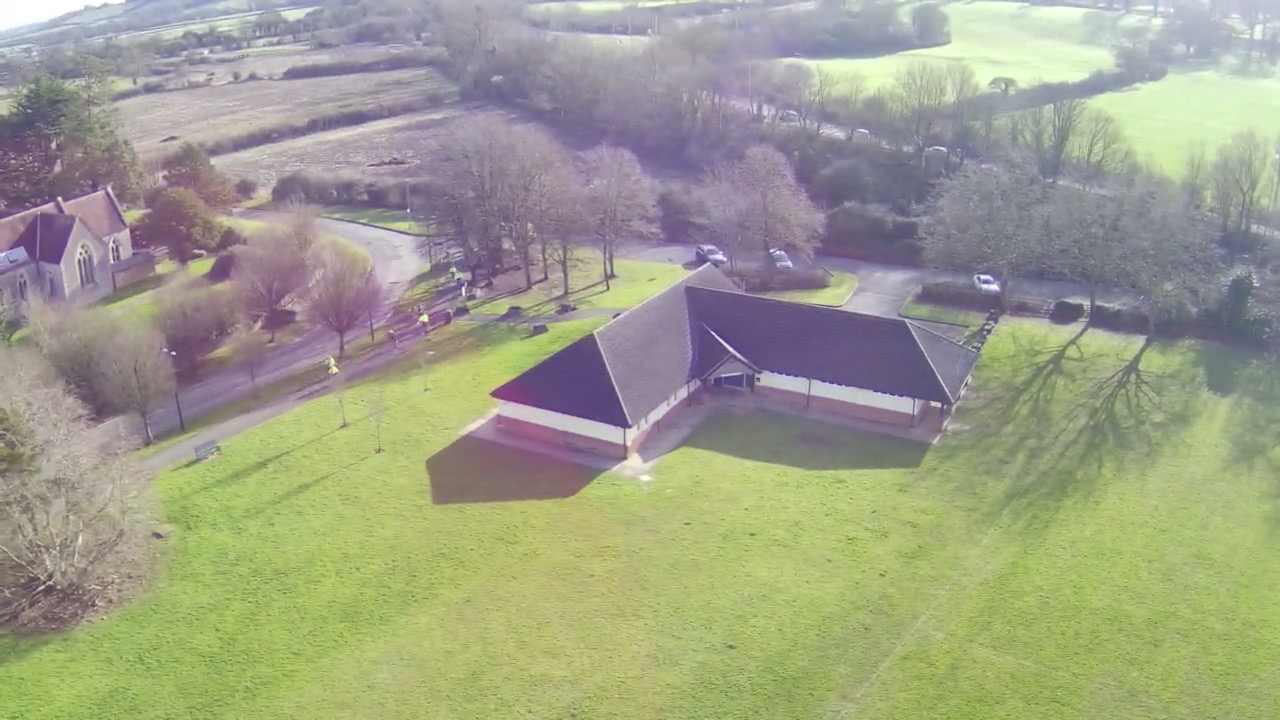
Photo 8
The setting around the Hub helps visitors orient themselves, but private hire does not extend to the surrounding outside areas and the football pitch remains for properly affiliated sports use only.
The outside photos are included for orientation and context. They do not change the current hire policy: private bookings do not include the surrounding outside spaces, and the football pitch remains limited to properly affiliated sports teams using it for training or matches.